QG - Add a New Client without a Referral
The New Client form will display

Name: Enter a First Name and Last Name for a client.
-
This is the ONLY information required to be entered into this screen.

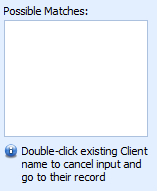
Duplicate Names: Once you begin typing a Last name into this form you may be displayed a list of possible matches, review this list to ensure you do not add the same client into the database twice. You can double click the client displayed in this Possible Matches area to go to their record and cancel entering a new client.
Demographic Information: Add additional demographic information as required, e.g. Date of Birth, preferred name, gender

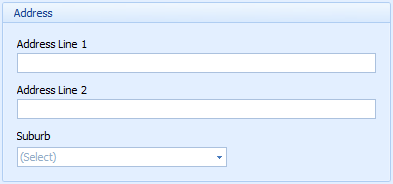
Address information: enter if required.
-
If an address is entered then the Suburb MUST be entered. The selection of a Suburb adds a Postcode onto the address.
-
Additional addresses can be added in the Client Details
Practitioner: Select the Practitioner who will see the client.
-
Multiple practitioners can be selected to access a client's record after the initial Client's information has been saved.
Referral: To add a Referral to the Clients details click here

Phone Numbers: Select the Phone Type
Enter the phone number for the client.
Only one phone number can be entered here. Additional numbers can be entered via the Client Details screen here.
A Mobile Number is required to be entered if SMS Reminder is selected.
Email Address: Enter an Email Address for the client.
-
An Email Address is required to be entered if Email Reminder is selected. Additional numbers can be entered via the Client Details screen here.

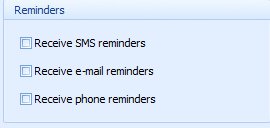
Reminders: Select any appointment reminders the client wishes to receive.
Click OK to save and add the Client to the database.

